Why My FoodSaver Vacuum Sealer is My Favorite Kitchen Tool!
During the COVID shutdown, I had to find ways to stretch limited food supplies and save money. Every week, I’d “purge” unused leftovers from my fridge, tossing out what felt like money into the trash…until I did some research for a FoodSaver comparison and bought my first vacuum sealer.
From the moment I brought it into my kitchen, I noticed a difference. I was spending less on groceries, my food was lasting longer in the freezer, and I was wasting far less. Before I dive into my FoodSaver comparison, here are some key benefits I discovered from using it regularly:
How My FoodSaver Saved Me Money
Allowed Me to Buy Meat and Poultry in Bulk: Before discovering the benefits of a FoodSaver comparison, I only bought enough meat for a single meal, which didn’t allow me to take advantage of bulk sales. Now, I can buy 5 pounds of ground beef or a family pack of pork chops, knowing I can safely store them in the freezer for months. Although I haven’t added up my savings (I guess I’m a bit lazy, haha!), FoodSaver claims you can save up to $1,500 a year.
Keeps Food Fresh Longer: Sealing food with a vacuum sealer before freezing makes it last up to five times longer than using traditional saran wrap, freezer bags, or Tupperware. Just remember to date the pouch!
Stored Leftovers Without Wasting Them: With proper techniques (more on that later), you can freeze prepared foods like stuffed peppers, leftover pizza, lasagna, or even liquids. Thanks to my FoodSaver comparison research, I learned I no longer had to eat leftovers within 3 to 5 days, reducing waste and saving money.
Perfect for Food Prep: I can prep meals for the week and store individual portions, which helps with portion control and prevents overindulging.
Saved Space in My Freezer: Vacuum-sealed pouches take up much less space than bulky plastic containers or freezer bags full of air. More space means more food, which equals more savings!
FoodSaver Comparison: Best Features of a FoodSaver Vacuum Sealer
Automatic Bag Detection and Sealing: Some models allow you to simply insert the bag, and they do the rest. No more struggling to get the bag in just right.
Moist and Dry Food Settings: When I did my initial FoodSaver comparison, I chose a model that didn’t have this feature. I quickly realized how essential it is for sealing foods with high moisture content. Now, I can’t imagine using a vacuum sealer without it!
Customizable Vacuum Modes: Higher-end models offer more customization. With these, you can use your FoodSaver to marinate foods, seal chicken for sous-vide cooking, or store liquids like soups. While these models are usually pricier, they open up more food-saving options.
Retractable Handheld Sealer: Perfect for those oddly shaped items or resealing a bag of chips. It’s like having a mini FoodSaver for quick jobs!
Built-in Roll Storage and Cutter: No more searching for the roll of bags or trying to cut a straight line. This feature keeps everything neat and within reach.
Crush-Free Instant Seal: This is a game-changer for delicate items like cookies or that fancy artisanal bread you splurged on.
Pro Tips for Getting the Most Out of Your FoodSaver
Pre-freeze Moist Foods: A quick freeze before sealing prevents liquids from being sucked into the machine. Just 30 minutes in the freezer can make sealing easier. Trust me, your FoodSaver will thank you!
Leave Headspace: Ensure you leave 2 to 3 inches of space at the top of your pouch. This allows for a proper seal and avoids punctures. In every FoodSaver comparison I did, this tip was a must.
Double Sealing: I don’t always use this step for dry foods, but for liquids, double sealing helps prevent leakage while thawing in the fridge. While I’ve never had a properly sealed bag leak, it doesn’t hurt to be safe, right?
Store It Properly!: My first model failed because I didn’t store it correctly. Most machines have a “store” setting between “open” and “closed.” Not storing it in the “store” position damaged the seal. I replaced it, but the machine never worked the same again.
FoodSaver Comparison: What are the best models?

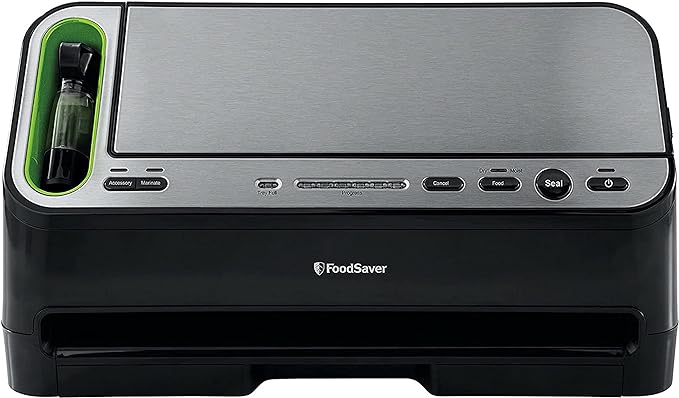
FoodSaver 2-in-1 Automatic Vacuum Sealing System (V4440)
Perfect for those who want convenience without too many bells and whistles. It has automatic bag detection and sealing and comes with a handheld sealer for zipper bags, canisters, and containers.

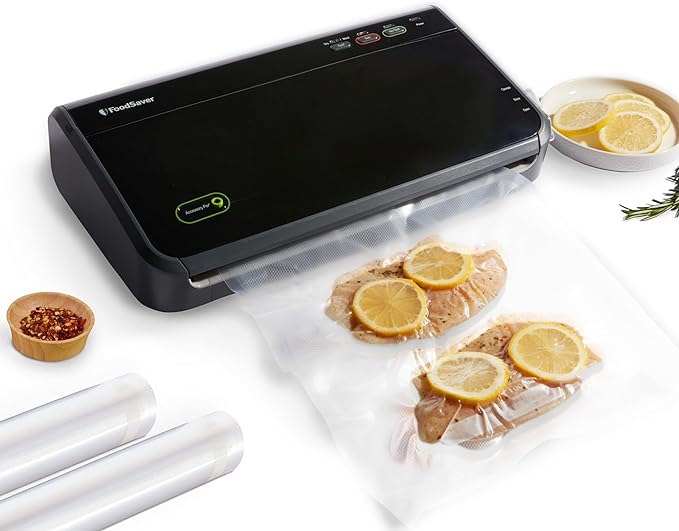
FoodSaver FM2100
The model that I use that’s simple and efficient. It includes an auto vacuum and seal button, roll cutter, an easy-lock latch, and comes with a starter kit of bags and a roll.

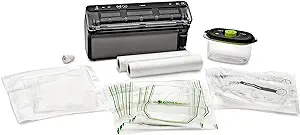
FoodSaver Elite All-in-One Liquid+
This is the powerhouse of vacuum sealers! It has six custom settings, including dry, moist, liquid, sous vide, marinate, and pulse. It includes automatic bag detection, built-in roll storage, and a retractable handheld sealer.

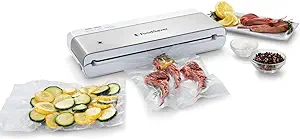
FoodSaver Compact Vacuum Sealer Machine
A compact and affordable entry-level sealer that handles basic tasks well, but does not include the convenience of a built in roll cutter.
Whether you’re a culinary enthusiast, a busy parent, or just looking to reduce food waste, there’s a FoodSaver model for you. Happy sealing!

